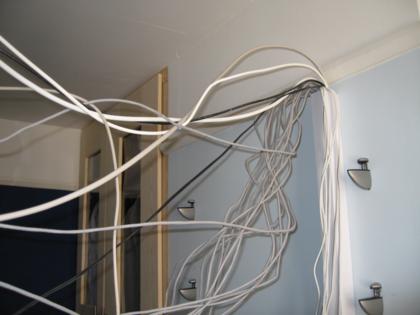
I’ve finally managed to find somewhere to buy stuff to tidy up some of the cabling around the house. A couple of weeks ago I ordered some trunking and a cable tray (which will replace the improvised MDF/timber one I constructed from offcuts) from Minitran.
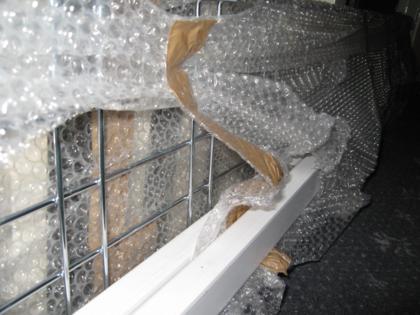
Unfortunately the first of two packages arrived late on a friday with only the larger items present – it appeared that the bubblewrap packaging (with no strong outer container) had disintegrated and spilled the smaller items somewhere along the delivery chain. The delivery company were mostly to blame for this, with the delivery driver not having the best attitude and the delivery not even being recorded on the paperwork which is probably why it was the last item to be delivered. The items should have been packed in something stronger but I guess such packaging is hard to come by for 3m x 30cm x 5cm consignments. I was also worried by the fact that my card payment had been manually entered into a PDQ machine, wihch suggests that my card number – submitted via the website – is being stored in plaintext somewhere. These days I would expect all online stores that accept card payments to do so via automated secured systems. Clearly this isn’t the case.
Anyway, I continued with installing what I had – the cable tray, a 3m length of 50x50mm trunking, and 2x 3m lengths of 25x38mm trunking.
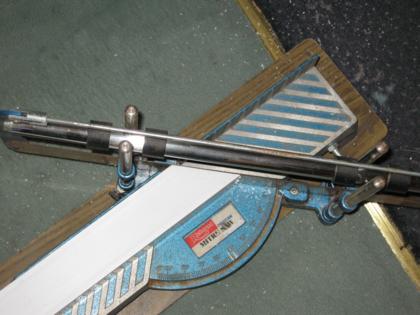
The 50mm square trunking was used to tidy up the majority of cables that come through from downstairs. This required being fixed to the wall by screws, which wasnt too difficult. I used a hand mitre saw to make the 90 degree bends. I could have purchased corner joints, but they are over £7 each and would have gotten lost anyway. The mitre saw did a great job and the result looks neat.
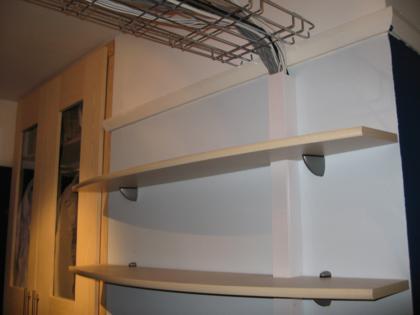
After I had got the first lot of trunking installed I set to work on the cable tray. The tray is made from a steel wire mesh which is lighter than standard cable tray, looks fairly good and lets light through. The problem was, though, that I had to figure out how to securely mount it without using the steel rods and support brackets that had gone missing. I settled on doing what I had done with the improvised cable tray and used the picture rail to my advantage.
The tray had to be cut to size, about 50cm shorter than the 3m length. With the help of a dremmel this wasnt too hard. I initally left some spare length so that I could bend the wires around and then use them to fix the tray to the picture rail with screws. This didn’t quite work as I had hoped though. To bend the extra length I had to cut part-way through the wires and carefully bend them. I then intended to solder the bends to strengthen them up a little. This plan didn’t work, and I ended up removing the bent parts altogether.

Thanks to the tray being relatively light and strong it turned out that there was no need to fix it to the walls. Just resting on the picture rail keeps it secure enough.
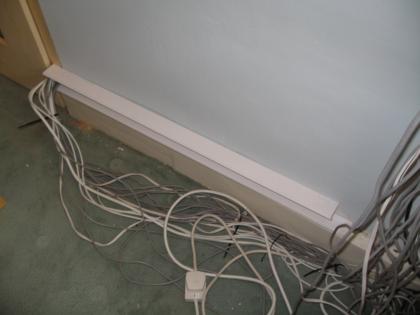
The smaller trunking contains the cables from the other side of the house – from the pantry, bedroom 3 and the landing. This was self-adhesive so was a lot quicker to fit. The cables only just fitted inside though.
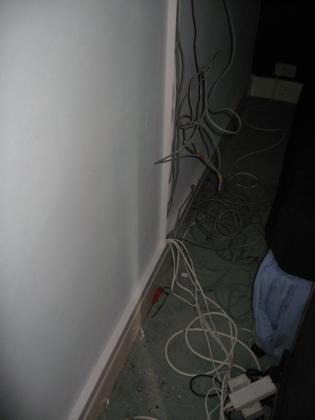
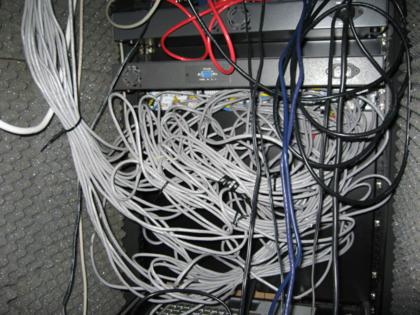
Once all of the trunking was installed, I re-ran all of the cables to the cabinet, tidying them as much as I could along the way. This involved lots of cable ties, spiral wrap and patience. As part of this, the remaining network cables were run to the cabinet and connected up to the patch panel. Unfortunatley the back of the patch panel is an unavoidable mess. At one point I thought of disconnecting, trimming and reconnecting the cables that were already connected but this proved far too difficult so I just tried to keep things as tidy as possible.
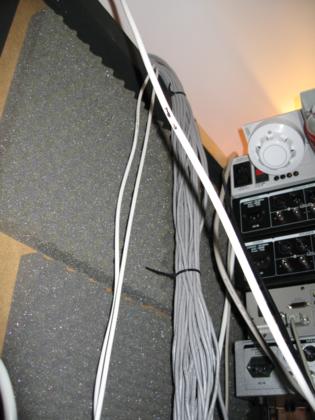
After clearing up the cables inside the cabinet, things look a lot neater in there (if you ignore the back of the patch panel). This makes it a lot easier to work around the back and portrays a more professional appearance.