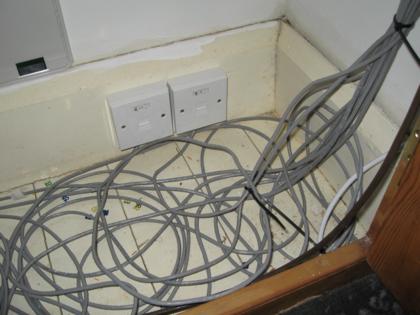
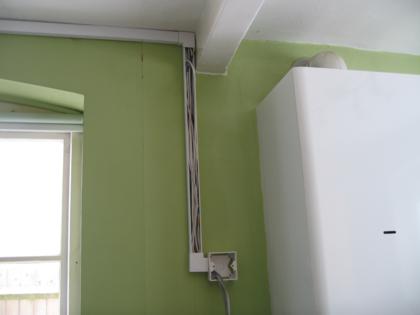
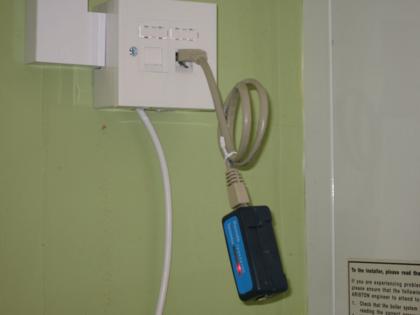
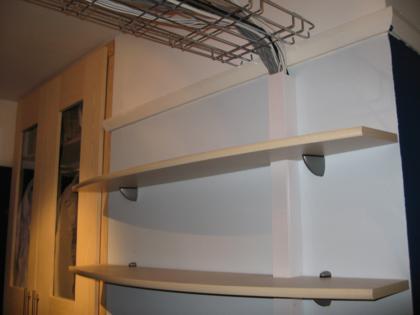
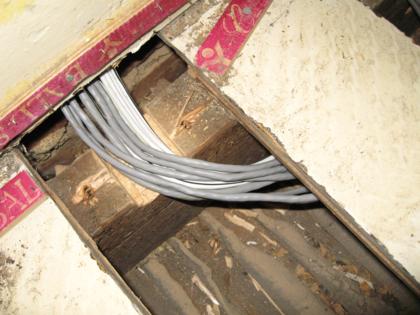
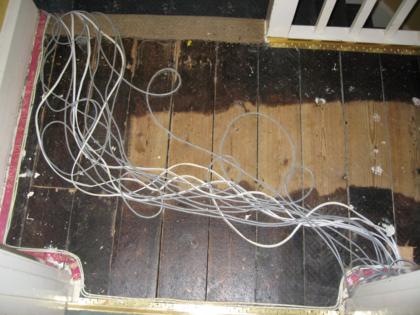
killswtch.net

A geek’s thoughts on various stuff

Archive for the ‘DIY’ Category

One thing that has been lacking since the first build of the rack is ventilation. With both sets of doors closed, the inside can get quite warm, especially when iron is turned on. Not any more though, having just completed the installation of 2 active ventilation zones, lighting and a low voltage power supply system complete with rack-mount control panel.

Air is drawn in at the bottom of the rack by 5 quiet 80mm 12v fans, positioned behind a perforated 2U panel inside the front panel of the base. The air is blown vertically into the cabinet from the bottom through a similar 1U perforated panel. Although the draught is barely noticeable, the difference it makes to temperatures at the front of the rack is significant.

With this ‘air curtain’ alone though, the back of the rack still gets very warm. To solve this I’ve installed a relatively huge 200mm ‘Big Boy’ fan into the newly-added top of the cabinet. This sucks out the warm air and dispenses it into the containing room. Together these fans keep the entire cabinet cool.

To power the fans I’ve used an old ATX power supply. In order to make replacement easy when the supply fails, no modifications have been made to it. Instead, I bought a 20-pin molex connector so that I could just plug the ATX connector straight into my system.

The PSU is connected to 4 switches that are mounted on a 1U blanking panel in the front of the rack. I wanted some fancy switches, so I splashed out on some nice chromed illuminated ones from China (via eBay). There’s one green DPDT switch, which switches the PSU on and off, and three blue SPDT switches which control power to the two fan systems and some lighting.

The lighting illuminates the front of the rack, and is there purely for decorative purposes. I had considered using cold-cathode tubes, but the seller that I got the switches from also sells strips of LEDs encased in a flexible transparent rubber-like substance. They are sold in various lengths, but I thought 96cm would be OK for what I wanted (at the time I bought it to experiment with, thinking that it could illuminate the wall behind my desk). This strip is now mounted on the left-hand front door.

Topped off

I’ve finally gotten around to fixing the top to the rack cabinet. It’s made from the door of an old storage-only cabinet, which was actually a fridge/freezer cabinet from Ikea. The top has been cut into the correct proportions for a while, but has just sat cluttering my floor until now.

To allow the many cables to enter the cabinet a notch of approx 8cm square was cut out of one of the panels. These two panels could then be slid together without the need to disconnect any cabling already in place.

Unfortunately I’ve discovered that the top of the cabinet isn’t exactly square - it’s slightly warped, as the photo below shows when the top had been fixed. I’m not happy with this so at some point I’ll have to put some effort into correcting it. Next time I build a rack I’ll make the top and bottom in more of a similar manner, with a known square-angled piece on which to fit the timber supports.

The top currently has no ventilation, but that will change soon thanks to a lovely huge ‘Big Boy’ fan.

  • 0 Comments
  • Filed under: DIY, Rackmodding
  • Completing the data wiring

    img_2141.JPG

    Today I added the final 4 network points - there are now a total of 24 around the house.

    The wiring project started about 14 months ago, with the plan to have at least 2 network points in all rooms except the bathroom. The final distribution has ended up as:

    • Living room: 6
    • Dining room: 4
    • Kitchen: 2
    • Pantry: 4
    • Landing: 2
    • Bedroom 1: 4
    • Bedroom 3: 2

    img_2130.JPG

    Despite considering that 24 ports might be a little excessive, I’ve come to realise that 24 ports isn’t quite enough especially when it comes to distributing analogue audio & video over CAT5 (i.e. not as IP data) since at least one port is required for each A/V combination depending on the quality of the signal desired. The living room should probably have 4 more ports, the kitchen could do with at least 2 more and a couple by the front door would come in useful for security purposes.

    img_2037.JPG

    I’ve learnt a lot from the experience of doing this wiring, such as how to lift floorboards, that lathe & plaster ceilings are extremely fragile and plastering is nowhere near as easy as it looks.

    img_2076.JPG

    Running the cables before moving in was certainly a good idea. It would have taken me probably another 12 months otherwise to get to this stage. It’s taken a lot more work than I expected, although the overall time is down to being in a lazy, bored and/or apathetic mood most weekends. I’m glad I did it though - the ports have come in useful for the MythTV system, for the family computer and soon enough the whole-house audio system. I’m also using them to trial some IP video cameras.

    img_2071.JPG

    img_2134.JPG

    Trunking and tray

    img_1789.JPG

    I’ve finally managed to find somewhere to buy stuff to tidy up some of the cabling around the house. A couple of weeks ago I ordered some trunking and a cable tray (which will replace the improvised MDF/timber one I constructed from offcuts) from Minitran.

    (more…)

    Re-running cables

    img_1723.JPG

    There are two main wiring routes that are part of my ongoing project to wire up our house for A/V and data distribution - one goes from the bottom of my wardrobe directly down to the room below, and the other goes across a short stretch of the landing and down into the pantry.

    img_1692.JPG

    Until yesterday, the 4 x speaker and 6 x CAT5 cables going to the pantry were laid under the carpet, then pushed down through a hole in a floodboard and the corresponding hole in the pantry ceiling. The reason for this was simply that it was too much work at the time to run the cables properly, i.e. beneath the floorboards. At the time when I was running the cables, we weren’t living in the house so I only had relatively short visits in which to do the work.

    I spent most of yesterday improving the situation by pulling up flooadboards, drilling holes in joists and reaching around in the dirt. All but 2 of the cables that were fed under the carpet are now out of sight under the floorboards of the landing. The remaining 2 cables are CAT5 feeds to bedroom 3, which take a slightly different route to the main runs and are already connected at both ends.

    (more…)

    What’s next?

    The Homebrew Challenge gave me a reason to progress my projects, but over Christmas things have slowed down. Winning the competition has given me some money from the sale of my old car, so it seems fitting that the money is put towards finishing the current projects. This is my plan for the projects over the next 2 years.

    Purchases Actions
    January 2008 Zone 2 amplifier, Zone 4 amplifier Improve rack ventilation
    February 2008 Zone 3 amplifier, DVI/USB KVM
    March 2008 Matrix switcher
    April 2008 4u blanking plate, 1u blanking plate Write control software
    May 2008 Write control software
    June 2008 Netiom xAP Write control software
    July 2008 Write control software
    August 2008 Outdoor IP camera
    September 2008 X10 modules
    October 2008 Outdoor IP camera
    November 2008
    December 2008
    January 2009 Netiom xAP + sensors
    February 2009 Netiom xAP + sensors
    March 2009 Netiom xAP + sensors
    April 2009 Netiom xAP + sensors
    May 2009 Netiom xAP + sensors
    June 2009 Netiom xAP + sensors
    July 2009 Netiom xAP + sensors
    August 2009
    September 2009
    October 2009
    November 2009
    December 2009

    I have purchased the 2 amplifiers for this month from eBay, but haven’t got around to the ventilation improvements as yet.

    Foaming

    I received yet more odd looks and comments at work when a few weeks ago I received a delivery of 24 foam tiles. I ordered them from eBay as an experiment in trying to reduce the amount of noise eminating from the rack cabinet. At about £30 it was a bit of a gamble.

    The foam

    (more…)

  • 4 Comments
  • Filed under: DIY, Geeky
  • A video summary of some of the projects

    Here’s a video I’ve put together about some of my projects. Sorry about the wobblyness and wonkyness - I’m not sure where I’ve put my tripod.

    You need to a flashplayer enabled browser to view this YouTube video

    Wiring the house

    dscf0024.JPG

    Before we moved into our new house, I lifted some of the carpets and floorboards and installed some runs of cat5 and speaker cable. In total there are 24 cat5 cables and 4 pairs of speaker cable. I’m not sure the length of network cable that was used, but a rough estimate is 400m - not quite as impressive as some other installations I’ve seen details of, but it’s a fair amount to pull on your own! I know exactly how much speaker cable was used though, because I used the whole reel - 100m.

    (more…)

    My DIY 19″ Rack

    The (almost) completed rackThis project started off as being a cheap way to have a 19″ rack in which to mount my growing amount of equipment and future projects. It turned out to not be as cheap as I’d hoped, and it’s taken several months of intermittent work to (almost) complete, but I’m pleased with the results.

    There are still a few finishing touches to be done, such as adding the top, adding the lock to the rear, mounting the new bolts to the front door, cutting out the bottom ventilation hole and adding some fans. Future modifications could include adding lighting and environmental monitoring/control.

    Below is a photo log showing how it was done.

    (more…)