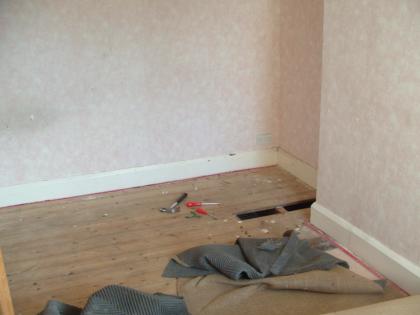
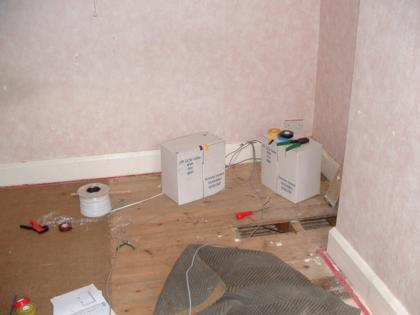
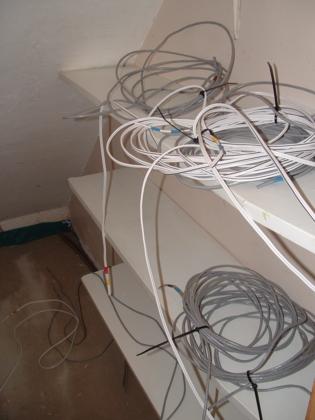
Before we moved into our new house, I lifted some of the carpets and floorboards and installed some runs of cat5 and speaker cable. In total there are 24 cat5 cables and 4 pairs of speaker cable. I’m not sure the length of network cable that was used, but a rough estimate is 400m – not quite as impressive as some other installations I’ve seen details of, but it’s a fair amount to pull on your own! I know exactly how much speaker cable was used though, because I used the whole reel – 100m.
At the time I wasn’t sure where the cables were going to terminate in my room (Node Zero), so I tried to leave plenty of slack. For most of the cables I’ve left more than enough for them to terminate in the newly constructed rack, but for the rest I may have to re-run or move the locations of the ports.
So far 5 pairs of ports have been installed – 3 pairs in the living room, 1 pair in the dining room and 1 pair on the landing. That leaves 7 pairs – 1 pair in the kitchen, 2 pairs in the master bedroom, 1 more pair in the dining room, 1 pair by the front door, 1 pair in the pantry and 1 pair in the third bedroom.
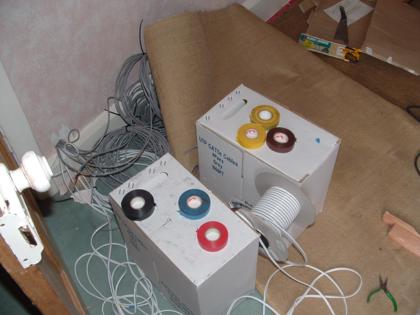
The wiring guide at Automated Home was a great help when it came to labelling the cables. The suggestion on that page is to use insulation tape of different colours to identify cables, much like the colour coding on a resistor. I had more than enough colours, so 2 bands were sufficient.
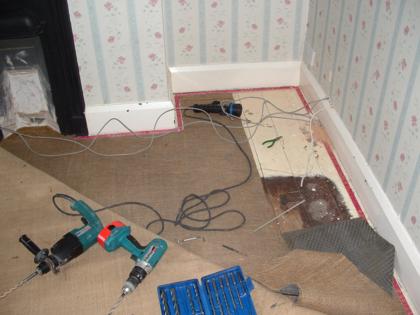
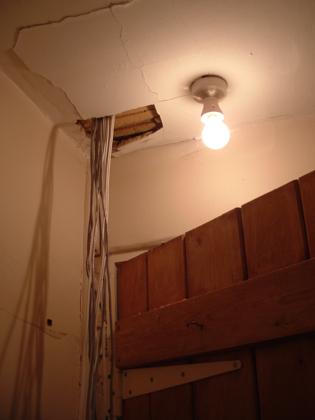
There have been a few challenges while running the cables. Some of the bricks in this house are extremely hard, enough so that it takes a lot of effort with a high-quality SDS drill to even drill holes for rawplugs. Some of the bricks are also engineer’s bricks, which render the cable finder useless. On the other end of the scale the ceiling plaster is lathe-and-plaster and is extremely fragile. While pulling the cables into the pantry, where they will run to the kitchen, front door and dining room, a large chunk of plaster god dislodged. This has sinced worsened with the vibrations from the staircase, and the entire ceiling in the pantry is slowly falling apart.
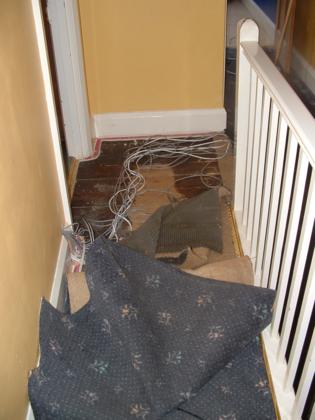
Horizontal runs of the cables currently go underneath the carpets. The ones that are attached to ports are protected by fixing cable channel (normally used when plastering over cables) in the hope of reducing the chance of cables becoming pinched by heavy weights. The runs on the landing (see below) are going to be re-run beneath the floorboards as part of the construction of an en-suite in the master bedroom.
After ordering the parts for the ports, I discovered that I could have used much shallower back-boxes if I had used 90 degree connectors instead of the 180 degree ones that I bought. Not a major problem since most of the ports aren’t visible, but it’s something to take note of if you plan on doing a similar project.
Like the other projects, this is a work in progress. More to come as the work progresses.
Hi just wanted to let you know that your menu appears to be spread over the post as in overlapping. Im viewing your blog in IE so perhaps something to look into.
Thanks for pointing that out. There was an error in the HTML for this post. Should be fixed now.